How to Open a Free AWS Account
Creating a free account on Amazon Web Services is simple. You can start using AWS Free Tier and learn cloud without paying, as long as you stay within limits.
Step by Step Process
Step 1: Go to AWS Website
Search AWS on google to go to the official AWS website.
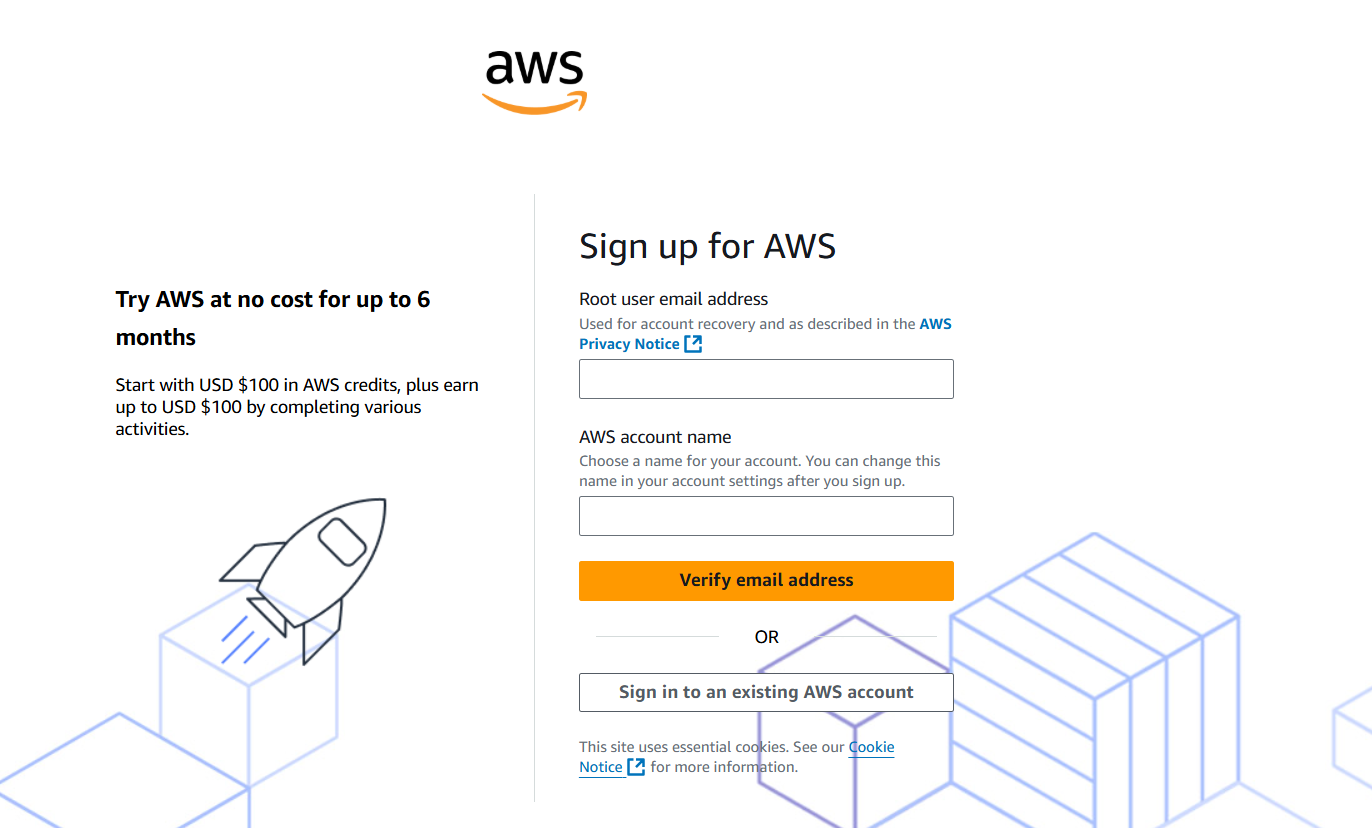
Click on Create an AWS Account.
Step 2: Enter Account Details
Provide basic information
- Email address
- Password
- Account name
Step 3: Choose Account Type
You will see two options
- Personal
- Professional
Choose Personal if you are learning.
Step 4: Add Contact Information
Enter your name, phone number, and address.
Step 5: Add Payment Method
You must add a debit card or credit card. In some countries where UPI is available you can also set up an UPI autopay instead of a credit, debit card.
Important: AWS may charge a very small amount temporarily to verify your card, but it is usually refunded.
Step 6: Phone Verification
Enter your phone number and verify using OTP.
Step 7: Choose Support Plan
Select Basic Support Free.
Step 8: Account Activation
AWS will take some time to activate your account.
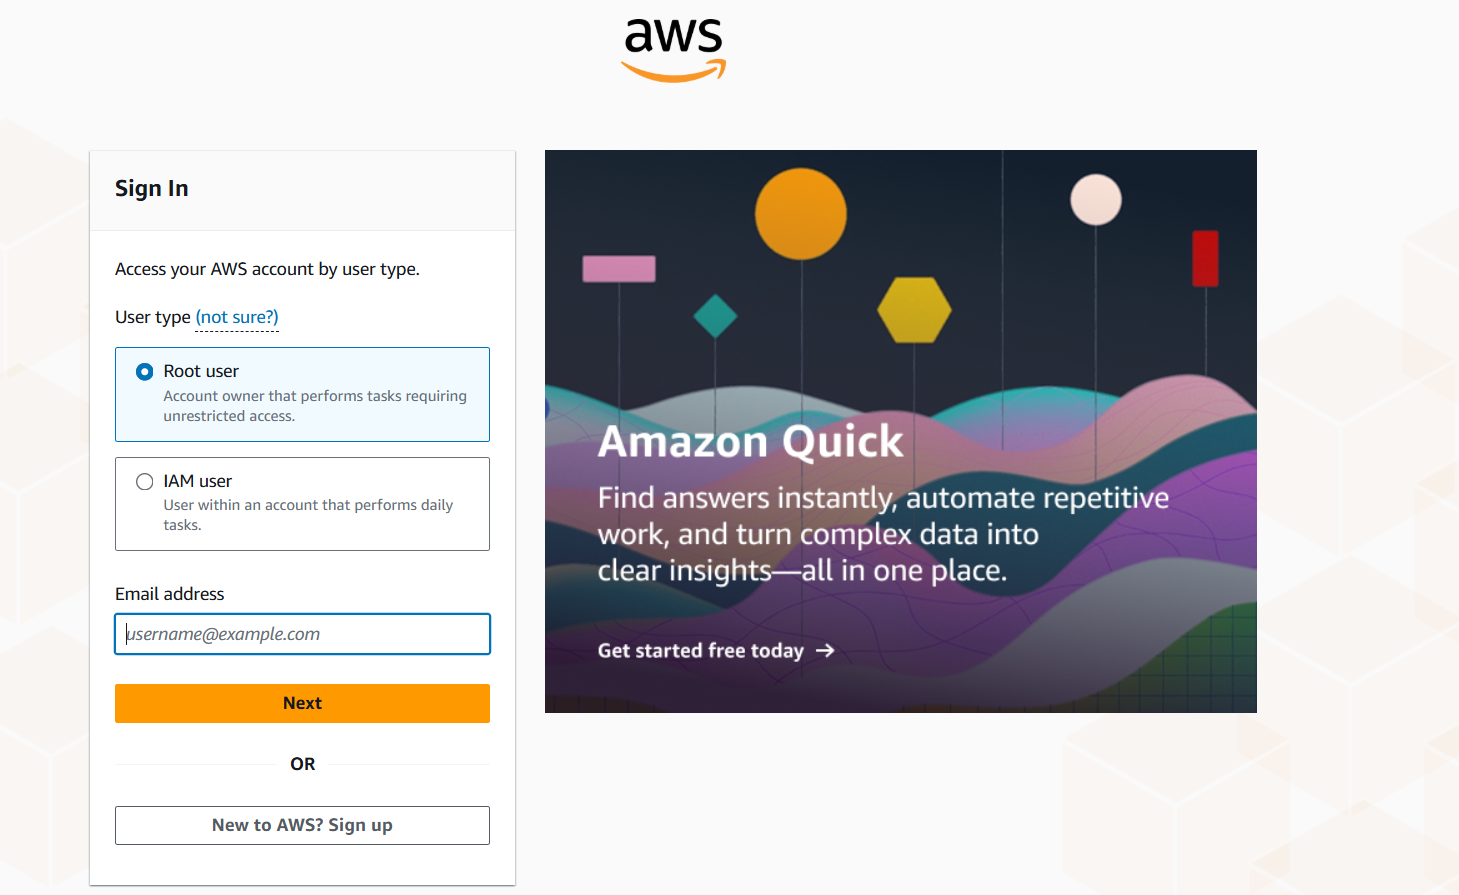
Step 9: Login to AWS Console
Once activated, you can log in to the AWS Management Console with Email and Password.
What You See After Login
After logging in, you will see the AWS dashboard. This is called the AWS Management Console. From here, you can search services like EC2, S3, create resources, manage your cloud infrastructure.
